3 Crafts to Learn Geography
Creative activities can be linked to curricular subjects and promote the learning of both disciplines at the same time. This is known as cross-curricular content, and today, we’ll capture it in 3 great examples of crafts to learn geography.
This type of task helps children explore and understand how the planet Earth works with their own hands. In addition, it allows them to better get a better dimension of geographical space and give shape to all that they imagine when they read school textbooks. Are you ready to immerse yourself in this enriching experience with your children? Then, let’s get started!
Crafts to learn geography
Handcrafting is related to the concept of DIY or Do It Yourself. It’s the ability we all have to carry out a craft, DIY, or art project. In this case, we’ll link it to geography and, therefore, below, we’ll share with you some tutorials to do at home or at school. The goal is that children can create, learn, and have fun at the same time.
“Children learn much more by playing than by studying, by doing than by watching.”
-Francesco Tonucci. Italian psychopedagogue and cartoonist.
1. Build a volcano, with a crater that spews lava!
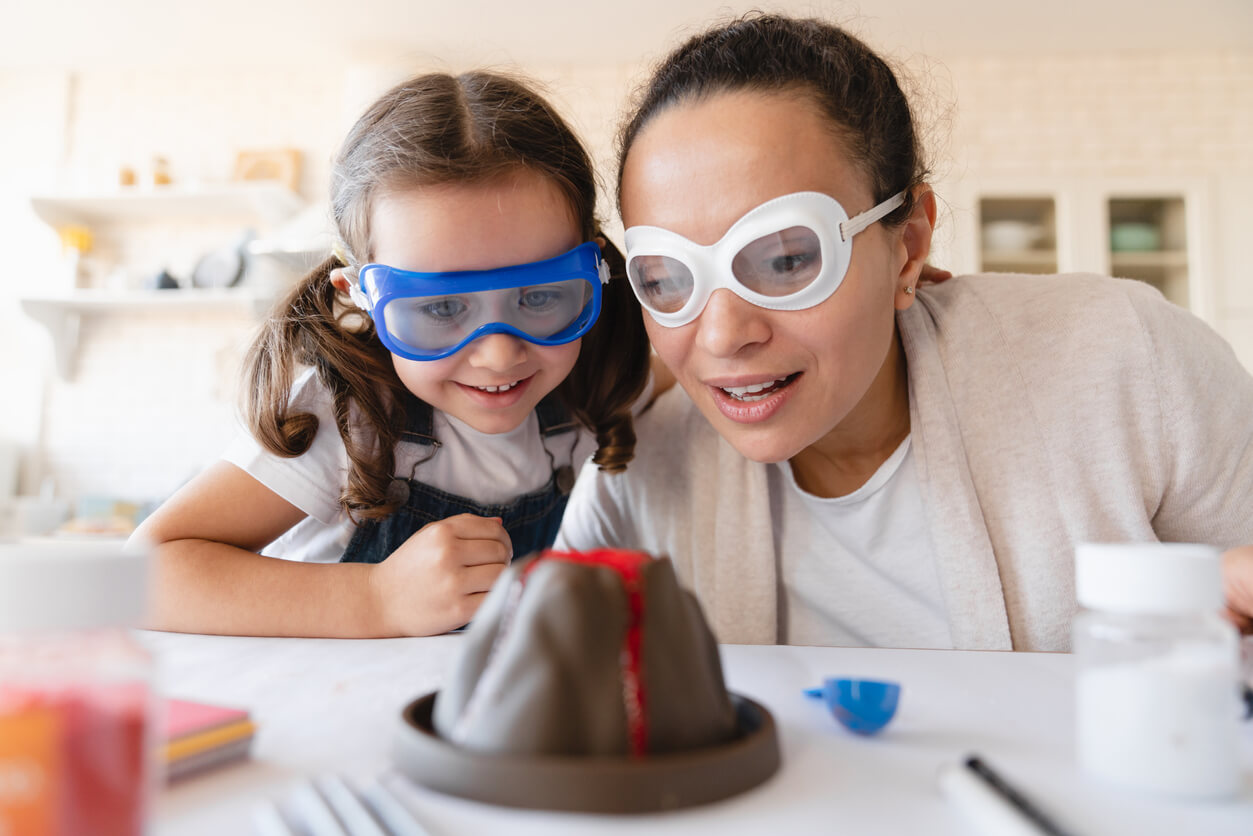
Volcanoes undoubtedly exert a special magnetism on children. Those mountains that seem to be alive and spew out incandescent material, smoke, and rocks are a favorite for science projects. And as expected, we couldn’t leave them out of our selection of crafts to learn geography. Take note of these simple steps!
Materials
For the structure of the volcano, you’ll need the following elements:
- A sheet of cardboard
- Glue
- An empty plastic bottle (1 or 2 liters)
- Newspaper
- Water
- Watercolors
- Paintbrush
For the dough, you must have these materials:
- 2 cups of salt
- 2 cups of water
- 6 tablespoons of flour
- 4 tablespoons of cooking oil
- Food coloring (black, brown, green, and gray)
- A rolling pin
For the lava you need to collect some more products:
- 1 tablespoon of dish detergent
- 1/4 cup white vinegar
- 1 tablespoon of baking soda
- Red food coloring or paint
Step-by-step instructions
- Place the oil, water, flour, and salt in a bowl.
- Join all the ingredients with your hands to form a dough.
- Add a few drops of food coloring to make the dough have the tones of the earth or rocks of a mountain.
- Take the cardboard sheet and glue the standing plastic bottle in the center.
- Surround the base with glue.
- Form balls of newspaper and adhere them around the base of the bottle.
- Repeat this from the bottom up and glue the balls together to form a cone.
- Take the dough, stretch it with the rolling pin and cover the mountain of paper balls. Leave the hole in the top of the bottle free, which will be the crater of the volcano.
- Search the internet for pictures of volcanoes and paint it as you wish.
- Let it dry for 24 hours.
When it has dried, you can place the ingredients for the eruption inside the bottle. You should put the detergent, the baking soda, a few drops of red food coloring, and a cup of water inside the bottle. Are you ready for the eruption? Add the vinegar last and watch what happens!
2. Learn the water cycle with a colorful mobile
A mobile made with simple elements, such as those used for homework, will allow your little one to learn about the natural water cycle. This is an excellent resource to help them understand an abstract phenomenon and, besides, you’ll see how much fun they’ll have!
Materials
- Glue
- A white cardboard
- Cardboard
- A black pencil and other colored pencils
- Markers
- Blue permanent marker
- Scissors
- Transparent plastic
- 1 long thumbtack
Step-by-step instructions
- Cut 3 rectangles of white cardboard 1 x 2 inches and place one of the following labels on each one: Evaporation, condensation, and precipitation.
- Cut out a cardboard circle 16 inches in diameter and glue it on a cardboard circle of the same size.
- At the top, draw a cloud and glue the condensation sign to it.
- On the right, make a mountain with a forest, snow on the top, and a river. There, paste the precipitation sign on it.
- On the left side draw the sun with its rays and at the bottom make the sea. Place the evaporation sign right between the two.
- Paint everything with colored pencils.
- On the plastic, mark and cut a triangle that covers 1/4 of the cardboard circle. Then, paint blue droplets on it with a permanent marker.
- Prick one end of the triangle with the thumbtack in the center of the circle.
- Finally, trim and round the edges.
The mobile is simple to operate: As you spin the plastic, you pass over the posters and landscapes, while observing how the different stages of the water cycle progress.
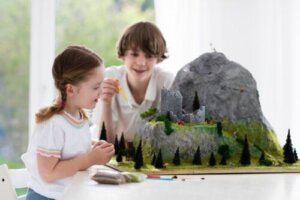
3. Reproduce the solar system with a scale model

Find a picture of the solar system to use as a guide and get ready to knead some play dough!
Materials
- Clay of 10 different colors
- Black cardboard
- A sheet of styrofoam
- Markers
- Skewer sticks
Step-by-step instructions
- Draw the sun in the center of the black cardboard and the nine orbits of the planets around it.
- Glue the cardboard onto the styrofoam.
- Knead each planet and the sun with different colors of play dough.
- Skewer each ball of play dough on a skewer stick.
- Place the yellow ball in the center and each planet on the line of its orbit. In what order should you do this? There’s a mnemonic device to easily remember the sequence of the planets: MEVE MAJUSA UNEPLU (MErcury, Venus, and Earth; MArs, JUpiter and SAturn; Uranus, NEptune and PLUto). Did you know this?
Discover more crafts to learn geography
Learning by doing is a didactic approach that helps children develop cognitive, social, emotional, and artistic skills. In this sense, crafts to learn geography are a great way to apply this method.
In other articles on our website, we’ve shared with you how to make a world map, a homemade telescope, and many other science projects to do together with the kids. So now you have no excuse to help your children learn more about geography, space, and our world in the most fun way there is.
Creative activities can be linked to curricular subjects and promote the learning of both disciplines at the same time. This is known as cross-curricular content, and today, we’ll capture it in 3 great examples of crafts to learn geography.
This type of task helps children explore and understand how the planet Earth works with their own hands. In addition, it allows them to better get a better dimension of geographical space and give shape to all that they imagine when they read school textbooks. Are you ready to immerse yourself in this enriching experience with your children? Then, let’s get started!
Crafts to learn geography
Handcrafting is related to the concept of DIY or Do It Yourself. It’s the ability we all have to carry out a craft, DIY, or art project. In this case, we’ll link it to geography and, therefore, below, we’ll share with you some tutorials to do at home or at school. The goal is that children can create, learn, and have fun at the same time.
“Children learn much more by playing than by studying, by doing than by watching.”
-Francesco Tonucci. Italian psychopedagogue and cartoonist.
1. Build a volcano, with a crater that spews lava!
Volcanoes undoubtedly exert a special magnetism on children. Those mountains that seem to be alive and spew out incandescent material, smoke, and rocks are a favorite for science projects. And as expected, we couldn’t leave them out of our selection of crafts to learn geography. Take note of these simple steps!
Materials
For the structure of the volcano, you’ll need the following elements:
- A sheet of cardboard
- Glue
- An empty plastic bottle (1 or 2 liters)
- Newspaper
- Water
- Watercolors
- Paintbrush
For the dough, you must have these materials:
- 2 cups of salt
- 2 cups of water
- 6 tablespoons of flour
- 4 tablespoons of cooking oil
- Food coloring (black, brown, green, and gray)
- A rolling pin
For the lava you need to collect some more products:
- 1 tablespoon of dish detergent
- 1/4 cup white vinegar
- 1 tablespoon of baking soda
- Red food coloring or paint
Step-by-step instructions
- Place the oil, water, flour, and salt in a bowl.
- Join all the ingredients with your hands to form a dough.
- Add a few drops of food coloring to make the dough have the tones of the earth or rocks of a mountain.
- Take the cardboard sheet and glue the standing plastic bottle in the center.
- Surround the base with glue.
- Form balls of newspaper and adhere them around the base of the bottle.
- Repeat this from the bottom up and glue the balls together to form a cone.
- Take the dough, stretch it with the rolling pin and cover the mountain of paper balls. Leave the hole in the top of the bottle free, which will be the crater of the volcano.
- Search the internet for pictures of volcanoes and paint it as you wish.
- Let it dry for 24 hours.
When it has dried, you can place the ingredients for the eruption inside the bottle. You should put the detergent, the baking soda, a few drops of red food coloring, and a cup of water inside the bottle. Are you ready for the eruption? Add the vinegar last and watch what happens!
2. Learn the water cycle with a colorful mobile
A mobile made with simple elements, such as those used for homework, will allow your little one to learn about the natural water cycle. This is an excellent resource to help them understand an abstract phenomenon and, besides, you’ll see how much fun they’ll have!
Materials
- Glue
- A white cardboard
- Cardboard
- A black pencil and other colored pencils
- Markers
- Blue permanent marker
- Scissors
- Transparent plastic
- 1 long thumbtack
Step-by-step instructions
- Cut 3 rectangles of white cardboard 1 x 2 inches and place one of the following labels on each one: Evaporation, condensation, and precipitation.
- Cut out a cardboard circle 16 inches in diameter and glue it on a cardboard circle of the same size.
- At the top, draw a cloud and glue the condensation sign to it.
- On the right, make a mountain with a forest, snow on the top, and a river. There, paste the precipitation sign on it.
- On the left side draw the sun with its rays and at the bottom make the sea. Place the evaporation sign right between the two.
- Paint everything with colored pencils.
- On the plastic, mark and cut a triangle that covers 1/4 of the cardboard circle. Then, paint blue droplets on it with a permanent marker.
- Prick one end of the triangle with the thumbtack in the center of the circle.
- Finally, trim and round the edges.
The mobile is simple to operate: As you spin the plastic, you pass over the posters and landscapes, while observing how the different stages of the water cycle progress.
3. Reproduce the solar system with a scale model
Find a picture of the solar system to use as a guide and get ready to knead some play dough!
Materials
- Clay of 10 different colors
- Black cardboard
- A sheet of styrofoam
- Markers
- Skewer sticks
Step-by-step instructions
- Draw the sun in the center of the black cardboard and the nine orbits of the planets around it.
- Glue the cardboard onto the styrofoam.
- Knead each planet and the sun with different colors of play dough.
- Skewer each ball of play dough on a skewer stick.
- Place the yellow ball in the center and each planet on the line of its orbit. In what order should you do this? There’s a mnemonic device to easily remember the sequence of the planets: MEVE MAJUSA UNEPLU (MErcury, Venus, and Earth; MArs, JUpiter and SAturn; Uranus, NEptune and PLUto). Did you know this?
Discover more crafts to learn geography
Learning by doing is a didactic approach that helps children develop cognitive, social, emotional, and artistic skills. In this sense, crafts to learn geography are a great way to apply this method.
In other articles on our website, we’ve shared with you how to make a world map, a homemade telescope, and many other science projects to do together with the kids. So now you have no excuse to help your children learn more about geography, space, and our world in the most fun way there is.
All cited sources were thoroughly reviewed by our team to ensure their quality, reliability, currency, and validity. The bibliography of this article was considered reliable and of academic or scientific accuracy.
- Ros, R.M., Capell, A., Colom, J., Sistema Solar. Actividades para el Aula, Antares, Barcelona, 2005
- http://www3.gobiernodecanarias.org/medusa/ecoblog/vmelloph/aprendiendo-de-los-volcanes-del-mundo/construccion-de-una-maqueta-de-volcan/
- https://www3.gobiernodecanarias.org/medusa/ecoescuela/recursoseducativos/tag/geologia/
This text is provided for informational purposes only and does not replace consultation with a professional. If in doubt, consult your specialist.