3 Ways to Make a Multicolored Butterfly
For both children and adults, we’ll show you some ways to make a multicolored butterfly and inspire you to take flight. In addition, they’re perfect for decorating the rooms of your home! Put them in the windows, on the doors, or on the wall. Let your imagination soar!
And you? Do you dare to give a touch of color to your life with these original crafts? Let’s get to work!
Discover these techniques to make a multicolored butterfly
Making multicolored butterflies is simple, and fun, and, once finished, they’ll serve to decorate different spaces of the house. Here are 3 ways to make this craft.
1. Make a toilet paper roll multicolored butterfly
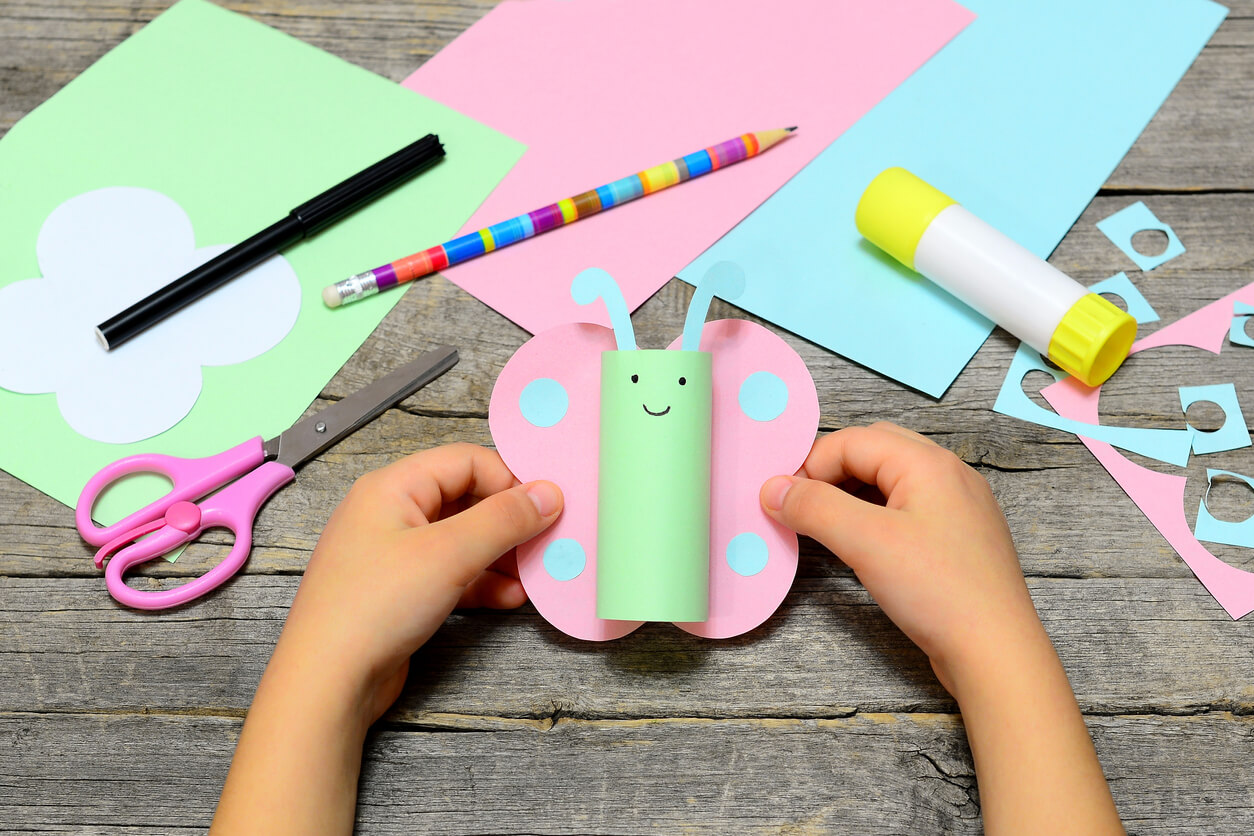
With a simple roll of toilet paper, you can make crafts that will surprise you. This is the case of the butterfly that we are going to present below, made with recyclable material to raise awareness among children.
Materials
- A roll of toilet paper
- Colored construction paper: Dark green, light green, and black
- Stickers
- Glue
- Marker pen
- Scissors
Step-by-step instructions
- Cut out a rectangle of light green cardboard the same width as the height of the paper roll. It should be long enough to cover the entire roll.
- Draw the wings on the dark green cardboard and the antennae on the black cardboard. Then cut out the pieces.
- Glue the wings to the back of the tube and fold over the top of the antennae.
- Next, pour glue on the bottom and adhere them to the inside of the roll.
- Decorate the wings with stickers, glitter, pearls, glitter and….Voila!
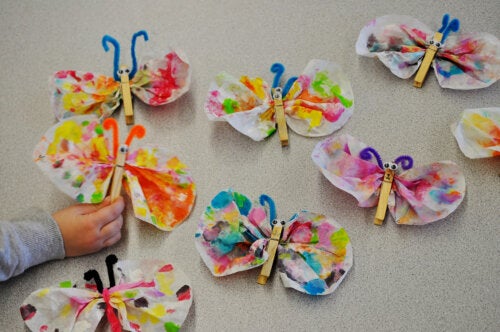
2. Butterfly with pompoms and popsicle sticks

This multi-colored butterfly is sweet as it’s made of soft materials and is reminiscent of summer. Therefore, it’s perfect for decorating the rooms of the little ones in the house or as a gift for a baby on the way.
Materials
- Popsicle stick
- Movable eyes
- Construction paper
- Paint and brushes
- Glue
- Small yarn pom-poms
Step-by-step
- Place the popsicle stick in the middle of a piece of construction paper and use a pencil to draw the wings on each side.
- Cut out two small antennae with the paper left over from the wings.
- Paint and let allow all the parts to dry.
- Glue the wings to the back of the popsicle stick.
- Glue the antennae on top, place the pompoms on top of them, and add the eyes.
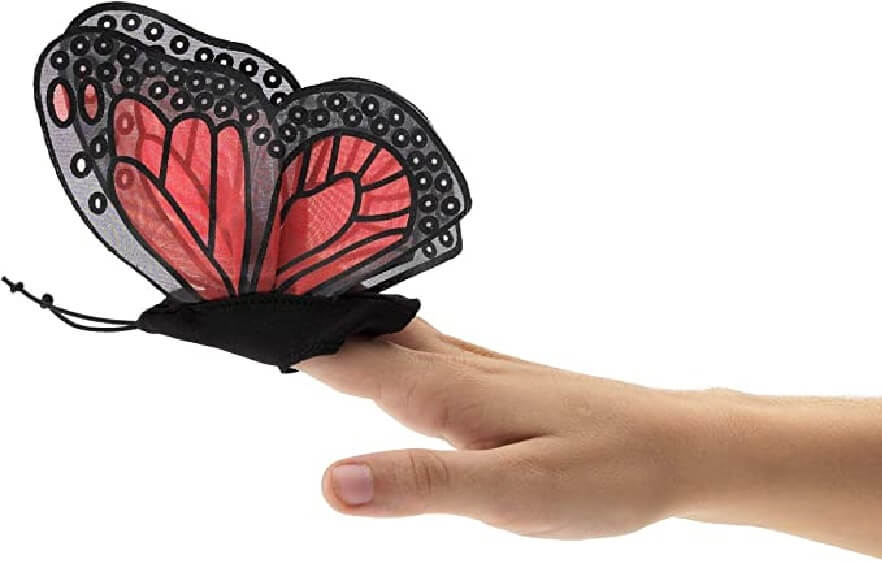
3. 3D butterfly puppet in flight
Children love puppets. Moreover, as supported by the following research developed in 2019 by the Isabel Herrera de Velázquez School of Basic Education, they’ve been used for centuries to transmit ideas and knowledge to little ones.
Well, we base ourselves on these findings when presenting a 3D butterfly that includes a grip to place your finger so it can really fly. Are you ready to make it and create a puppet show in your own home?
Materials
- Colored construction paper: Yellow, green, and red
- Stickers of different colors
- Scissors
- Glue
- Paper
Step-by-step instructions
- Cut out the wings of the butterfly in three different colors of construction paper.
- Glue them one on top of the other (first the yellow one, then the green one, and then the red one). However, before doing so, make a small fold in the middle of the wings of the green cardboard (this fold will be gentler) and the red one (this fold will have to be more pronounced, as it will be the one on top of the other papers). This way, it will look like the butterfly has several wings and is in flight.
- Arrange the stickers as you like to decorate your multicolored butterfly.
- Fold the paper around the finger you want to use to give movement to the butterfly. Cut it out and adjust it to the size of your child’s finger before gluing.
- Glue the paper tube you made to tuck the finger under the wings and your little ones are ready to enjoy the show!
Learn to respect Mother Nature with these ways to make a multicolored butterfly
Before we finish, we want to leave you with a reflection from the educators of the Escuela Educación Infantil Arcoíris (Cáceres):
“Someday our children will be given the keys to the planet and will have to take care of it. We’ll leave in their hands our future and that of millions of species that will then depend on the sensitivity of their hands to save them from an almost foretold extinction. We must therefore prevent the next generation from making our same mistakes and educate them to build a better and more sustainable world”.
To achieve this purpose, there’s no better activity than this. From the time they’re small, we can encourage them through handicrafts to respect, learn, and reuse what, apparently, seems useless. And you? Which of these three multicolored butterflies do you prefer?
All cited sources were thoroughly reviewed by our team to ensure their quality, reliability, currency, and validity. The bibliography of this article was considered reliable and of academic or scientific accuracy.
- Corporativa I. El juego del reciclaje o cómo concienciar a los niños [Internet]. Iberdrola.com. 2019 [citado 28 de septiembre de 2021]. Disponible en: https://www.iberdrola.com/medio-ambiente/reciclaje-para-ninos
- Guiainfantil.com. Mariposa multicolor. Manualidad de reciclaje para niños [Internet]. Guiainfantil.com. Guiainfantil.com; 2018 [citado 28 de septiembre de 2021]. Disponible en: https://www.guiainfantil.com/articulos/ocio/manualidades/mariposa-multicolor-manualidad-de-reciclaje-para-ninos/
- Iris EIA. ESCUELA INFANTIL ARCOIRIS [Internet]. Blogspot.com. [citado 28 de septiembre de 2021]. Disponible en: https://arcoirismiajadas.blogspot.com/2020/06/las-3r-del-reciclaje-reducir-reutilizar.html
- Mármol Maridueña, Rosa Alexandra. (2019). Teatro de títeres como estrategia para potenciar la atención de niños de 5 años de la Escuela de Educación Básica Isabel Herrera de Velázquez. Conrado, 15(70), 370-375. Epub 02 de diciembre de 2019. Recuperado en 28 de septiembre de 2021, de http://scielo.sld.cu/scielo.php?script=sci_arttext&pid=S1990-86442019000500370&lng=es&tlng=pt.