How to Make a Lava Lamp With Your Children?

You probably already know that water and oil don’t mix. But how can you make your little ones understand why this is in a fun and creative way? Here’s the solution: Make a lava lamp with your kids.
It’s not only a fun craft but also a fantastic experiment for learning science. Want to try it? Then get a pencil and paper to write down every detail.
What’s a lava lamp and what’s it for?
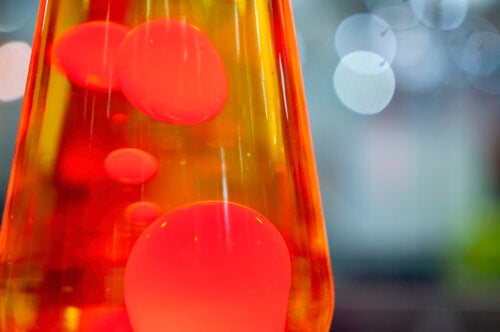
The lava lamp was invented in the 1960s as a decorative element, which followed the style of psychedelic fashion. This object consists of a hollow glass container, inside which colorful bubbles float at a slow pace.
If you want to imitate this model and encourage children to make their own lava lamp, you just have to gather a few elements that you probably already have at home.
This experiment is so simple and so safe that it can be done by children of all ages. That’s why it’s great fun to share with the whole family.
Pay attention and let the fun begin now!
How to make a lava lamp
Here are the materials you’ll need and step-by-step instructions so you can make one today.
Materials
- 1 flask, bottle, or transparent glass
- Water
- Different colored tempera paints or food coloring
- Vegetable cooking oil
- Effervescent tablets
- A small flashlight or a cell phone with a light
Step-by-step instructions
- Fill the glass jar half full with clean water.
- Add a small amount of tempera or dye and mix well until the water is colored.
- Fill the rest of the container with vegetable oil.
- Let stand for one minute. You’ll see how the colored water stays underneath and the oil floats on top of it, without mixing.
- Take an effervescent tablet and drop it into the container.
- Place a flashlight or cell phone light near the base and watch carefully what happens: The colored bubbles rise, pass through the oil and explode on the surface when they come into contact with the air.
- When the bubbles run out, you can do it again with another tablet.
- Keep the fun going with your lava lamp!
What do children learn when they make their own lava lamp?
The process of making a lava lamp is simple and inexpensive, and the main objective is for children to discover the following physics and chemistry concepts.
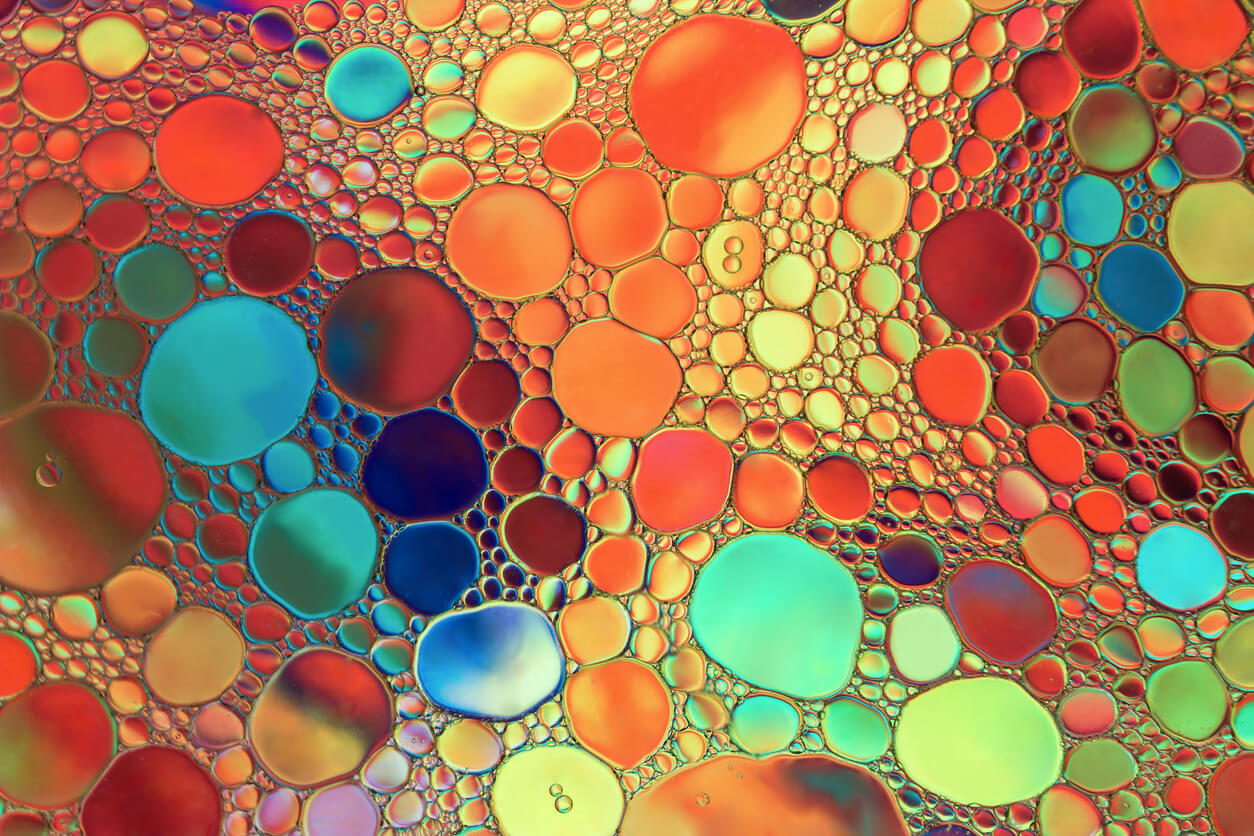
1. Oil floats above water: The concept of density
According to the Royal Spanish Academy, density is “the magnitude that expresses the relationship between the mass and volume of a body, and whose unit in the international system is the kilogram per cubic meter (kg/m3)”.
Water has a density of 1,000 kg/m3 and oil has a density of between 0.840 and 0.960 kg/m3, as its molecules are larger and weigh less. For this reason, oil floats on water and doesn’t sink.
2. Water and oil never mix: The elements don’t attract one another
In addition to their different densities, the two liquids have very different structures. While the molecules of water (H2O) are small and have a positive and negative charge that attracts them to one another, those of oil have no polarity. Therefore, they form a neutral liquid.
This is why the two elements don’t mix, as there’s no attraction or repulsion between them. It’s like placing a piece of paper on top of a magnet: Nothing happens!
3. Bubbles rise and disappear: The behavior of gases in a liquid medium
When you add the effervescent tablets to the bottle, they fall to the bottom because they’re very heavy and dense. There, they begin to dissolve and a chemical reaction takes place.
At this point, a gas called carbon dioxide (CO2) is released, which interacts with the colored water molecules and forms the bubbles.
These bubbles are lighter than water and oil, and therefore, rise quickly to the surface. When they come into contact with air, they burst and release the gas contained in them. And the rest of the water sinks back down.
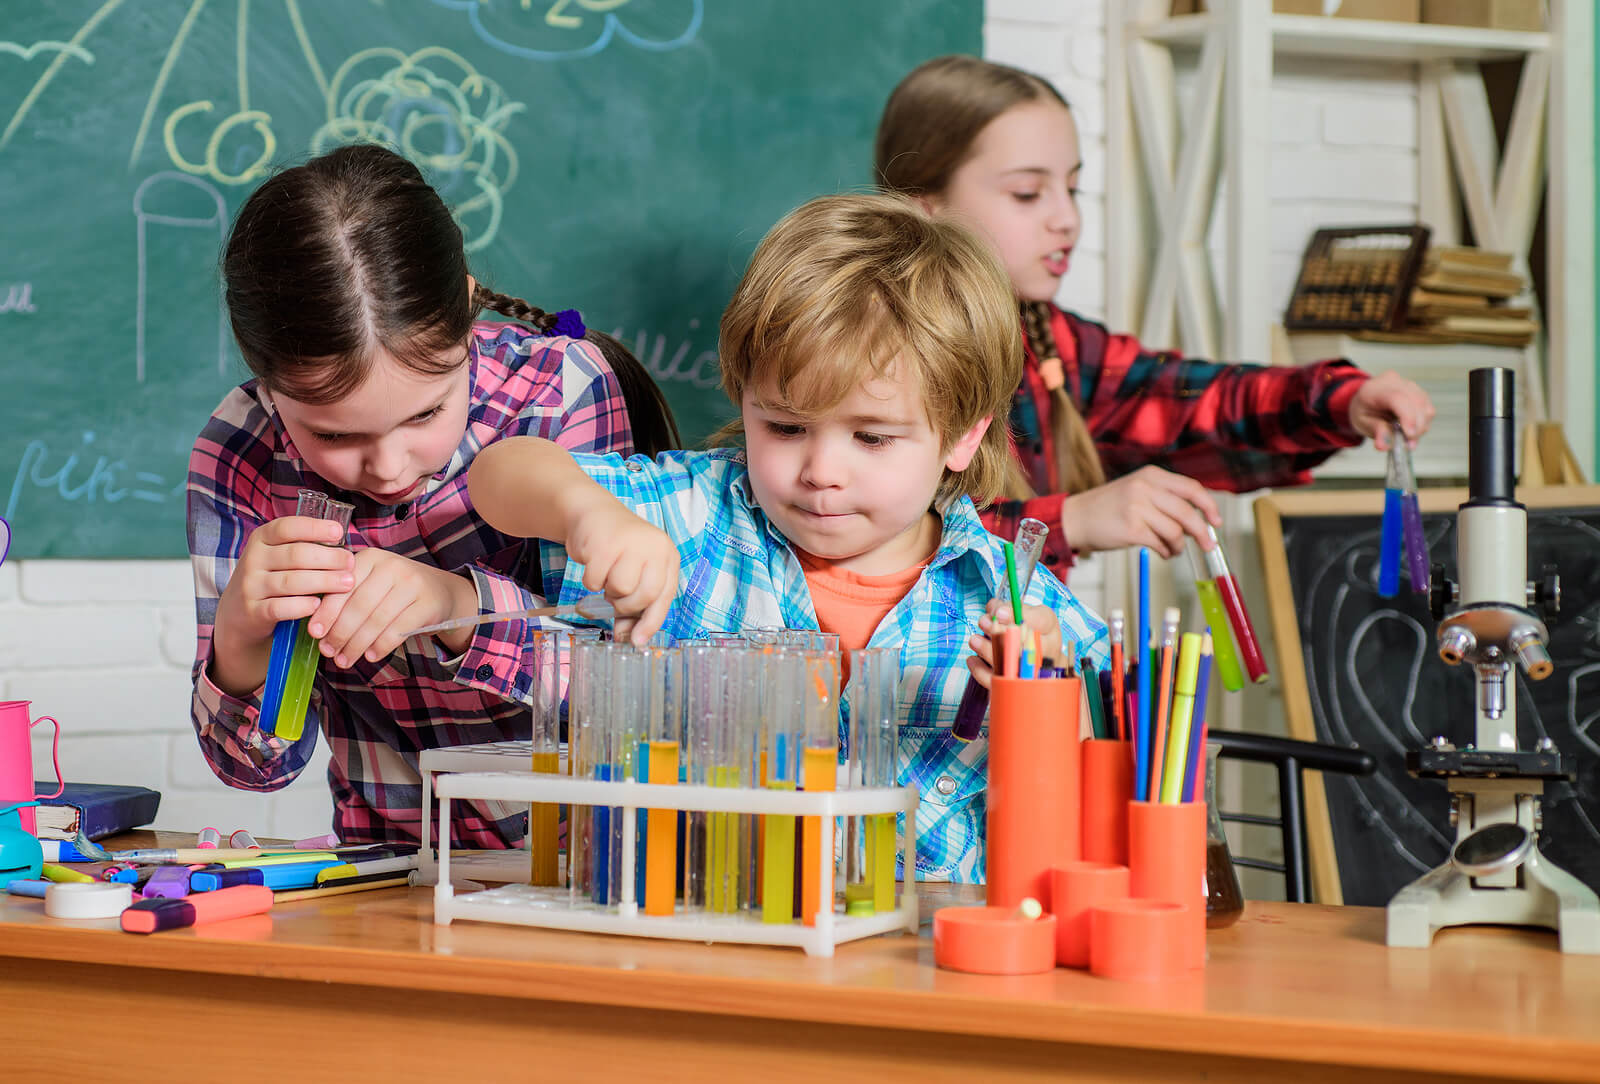
Experiments with children: Learning by doing
At the end of the 20th century, the UNESCO report Education holds a Treasure, known as the Delors Report, defined four pillars of education: Learning to know, learning to do, learning to be, and learning to live together.
“Learning to do in order to acquire not only a professional qualification but, more generally, a competence that enables the individual to cope with a large number of situations and to work in a team.”
-Jacques Delors
The learning by doing (LBD) educational approach is based on this concept, which gives special relevance to experimentation. One of the pedagogical models that encourages this is STEAM education. There’s a great variety of experiments that can be done in the classroom or at home.
This craft is a very beneficial way to promote curiosity, learn scientific content, and work on multiple intelligences. So, prepare the materials and start the adventure of creating this colorful bubble machine. Your children will love it!
All cited sources were thoroughly reviewed by our team to ensure their quality, reliability, currency, and validity. The bibliography of this article was considered reliable and of academic or scientific accuracy.
- Fundación Aqua (s.f.) ¿Cuál es la densidad del agua, del aceite y del hielo? Disponible en: https://www.fundacionaquae.org/densidad-agua-aceite-hielo/
- Santos, M., Prieto, C. y Merchán, M. (2018) Innovación en la enseñanza de la Física y la Química. Aprender haciendo. Disponible en: https://dialnet.unirioja.es/servlet/articulo?codigo=7389045
- UNESCO (1996) La Educación encierra un tesoro. Informe Delors. Disponible en: https://unesdoc.unesco.org/ark:/48223/pf0000109590_spa