5 Crafts to Make Flying Kites


Written and verified by the teacher Samanta Ruiz
If you want to surprise your child with a toy made with your own hands, we invite you to make flying kites.
Magical and with a bit of science, these wonders that take to the skies anywhere on the planet have stood the test of time and remain a popular way to connect the childhoods of several generations.
The designs of the kites are simple, as they have to be raised and kept in the air. You can use a variety of materials to build them but they must always be lightweight.
Here are five models to make at home and then go out to fly them out in the open with your family!
Traditional kites
This is the simplest of all and also the best known. Take note of the materials and let’s get to work!
Materials:
- Thin sticks, reeds, or lightweight wood
- Tissue or crepe paper
- Adhesive tape
- Colored ribbons
- Ruler
- Scissors
- Thread
Steps:
- Assemble the structure of the kite with two sticks. One will be the crossbar (12 inches long) and the other the spar (20 inches long).
- Form a cross by joining them with the thread.
- Place this cross on the tissue paper.
- With a pencil, join the ends of the sticks to make the shape of the kite.
- Cut out a strip of tissue paper or crepe paper and tape it to the ends of the sticks. This will be the sail of the kite.
- Prepare two long pieces of yarn, tie them to the spars, and join them together in the center of the cross, making sure it’s a little loose. This will be the bridle that will help you to balance the kite in the air.
- At the junction, you’re going to tie the line, which is the long string that you’ll hold in your hands.
- Around the edge of the kite, add ribbons, and at the end of the stringer, glue the tail, which can be long colored strips.
- Decorate your flying kite with stickers or paint it with bright colors or any design you like.

Flower-shaped kites
This is a variation of the previous craft, which will be easier than you think. Try it and you’ll see how original its design is.
Materials
- Wicker or thin cane strips for basketry (about 2 millimeters thick)
- Tissue paper
- White paper
- Scissors
- Thread
- Adhesive tape
Steps
- Choose a flower design and draw it on the white paper.
- Cut out the pieces of the flower: Petals and the center.
- Follow the edges with the wicker or cane to assemble the structure.
- Join all the parts together with thread.
- Transfer the shapes from the white paper to the tissue paper, choosing different colors for each part.
- Cut the pieces and then tape them to the wicker “skeleton”.
- Add the flange, line, and glue as explained in the traditional model.
Kite with recycled bags
While we make crafts, we can also teach our children to recycle and thus take care of the planet. Look for bags that you no longer use and offer them a better destination than the closet.
Materials
- 1 paper bag
- Cardboard
- Gift wrapping paper
- Twine
- Adhesive tape
- Glue
- Pencil
Steps
- Draw shapes on the colored paper and cut them out (fruits, flowers, stars, moons, etc.).
- Glue them on the outside of the bag.
- Open the bag and glue a rectangle of cardboard on the inside of the bag to keep it open. For example, you can use cardboard from cereal boxes.
- Cut 4 pieces of string, glue them to the base, and join them in the center.
- Tie the line there to be able to fly your kite.
Small kites
These can be fun for older children, as younger ones aren’t yet able to manipulate such small objects. You can use them to bring drawings to life, like a 3-D collage. Give it a try!
Materials
- Disposable plastic straws
- A sheet of crepe paper
- Tissue paper
- Glue
- Scissors
- Thread
Steps
- Place the straws on the crepe paper, forming a rhombus, and add one with a middle line. You’ll have a center where the straws cross.
- Glue the structure on the crepe paper.
- Cut out the tissue paper in the shape of the kite, leaving about 2.5 inches to fold it and glue it all around the edge.
- Add glue and decorations of your choice.
- Join several finished models to form a garland of mini kites.
Flying kites with newspaper
When you don’t have materials at home, you can take advantage of old newspapers around the house. Their thin and light paper is ideal for your kite to fly very high.
Materials
- Colored paper
- Newspaper
- 2 bamboo canes of 20 inches
- Glue
- Adhesive tape
- Scissors
- Thread
Steps
- Form a cross with the two bamboo canes and tie it in the center with the thread.
- At each end of the canes, make a groove in them. Pass a thread through all of them to form the structure of the kite.
- Place the newspaper on top and cut it into the shape of the kite, leaving about 1 inch extra.
- Fold the paper over the thread and glue it. This should be done all around the edges.
- Add the flange, the line, and the tail, as explained in the traditional model.
Crafts to make flying kites: Guaranteed family fun!
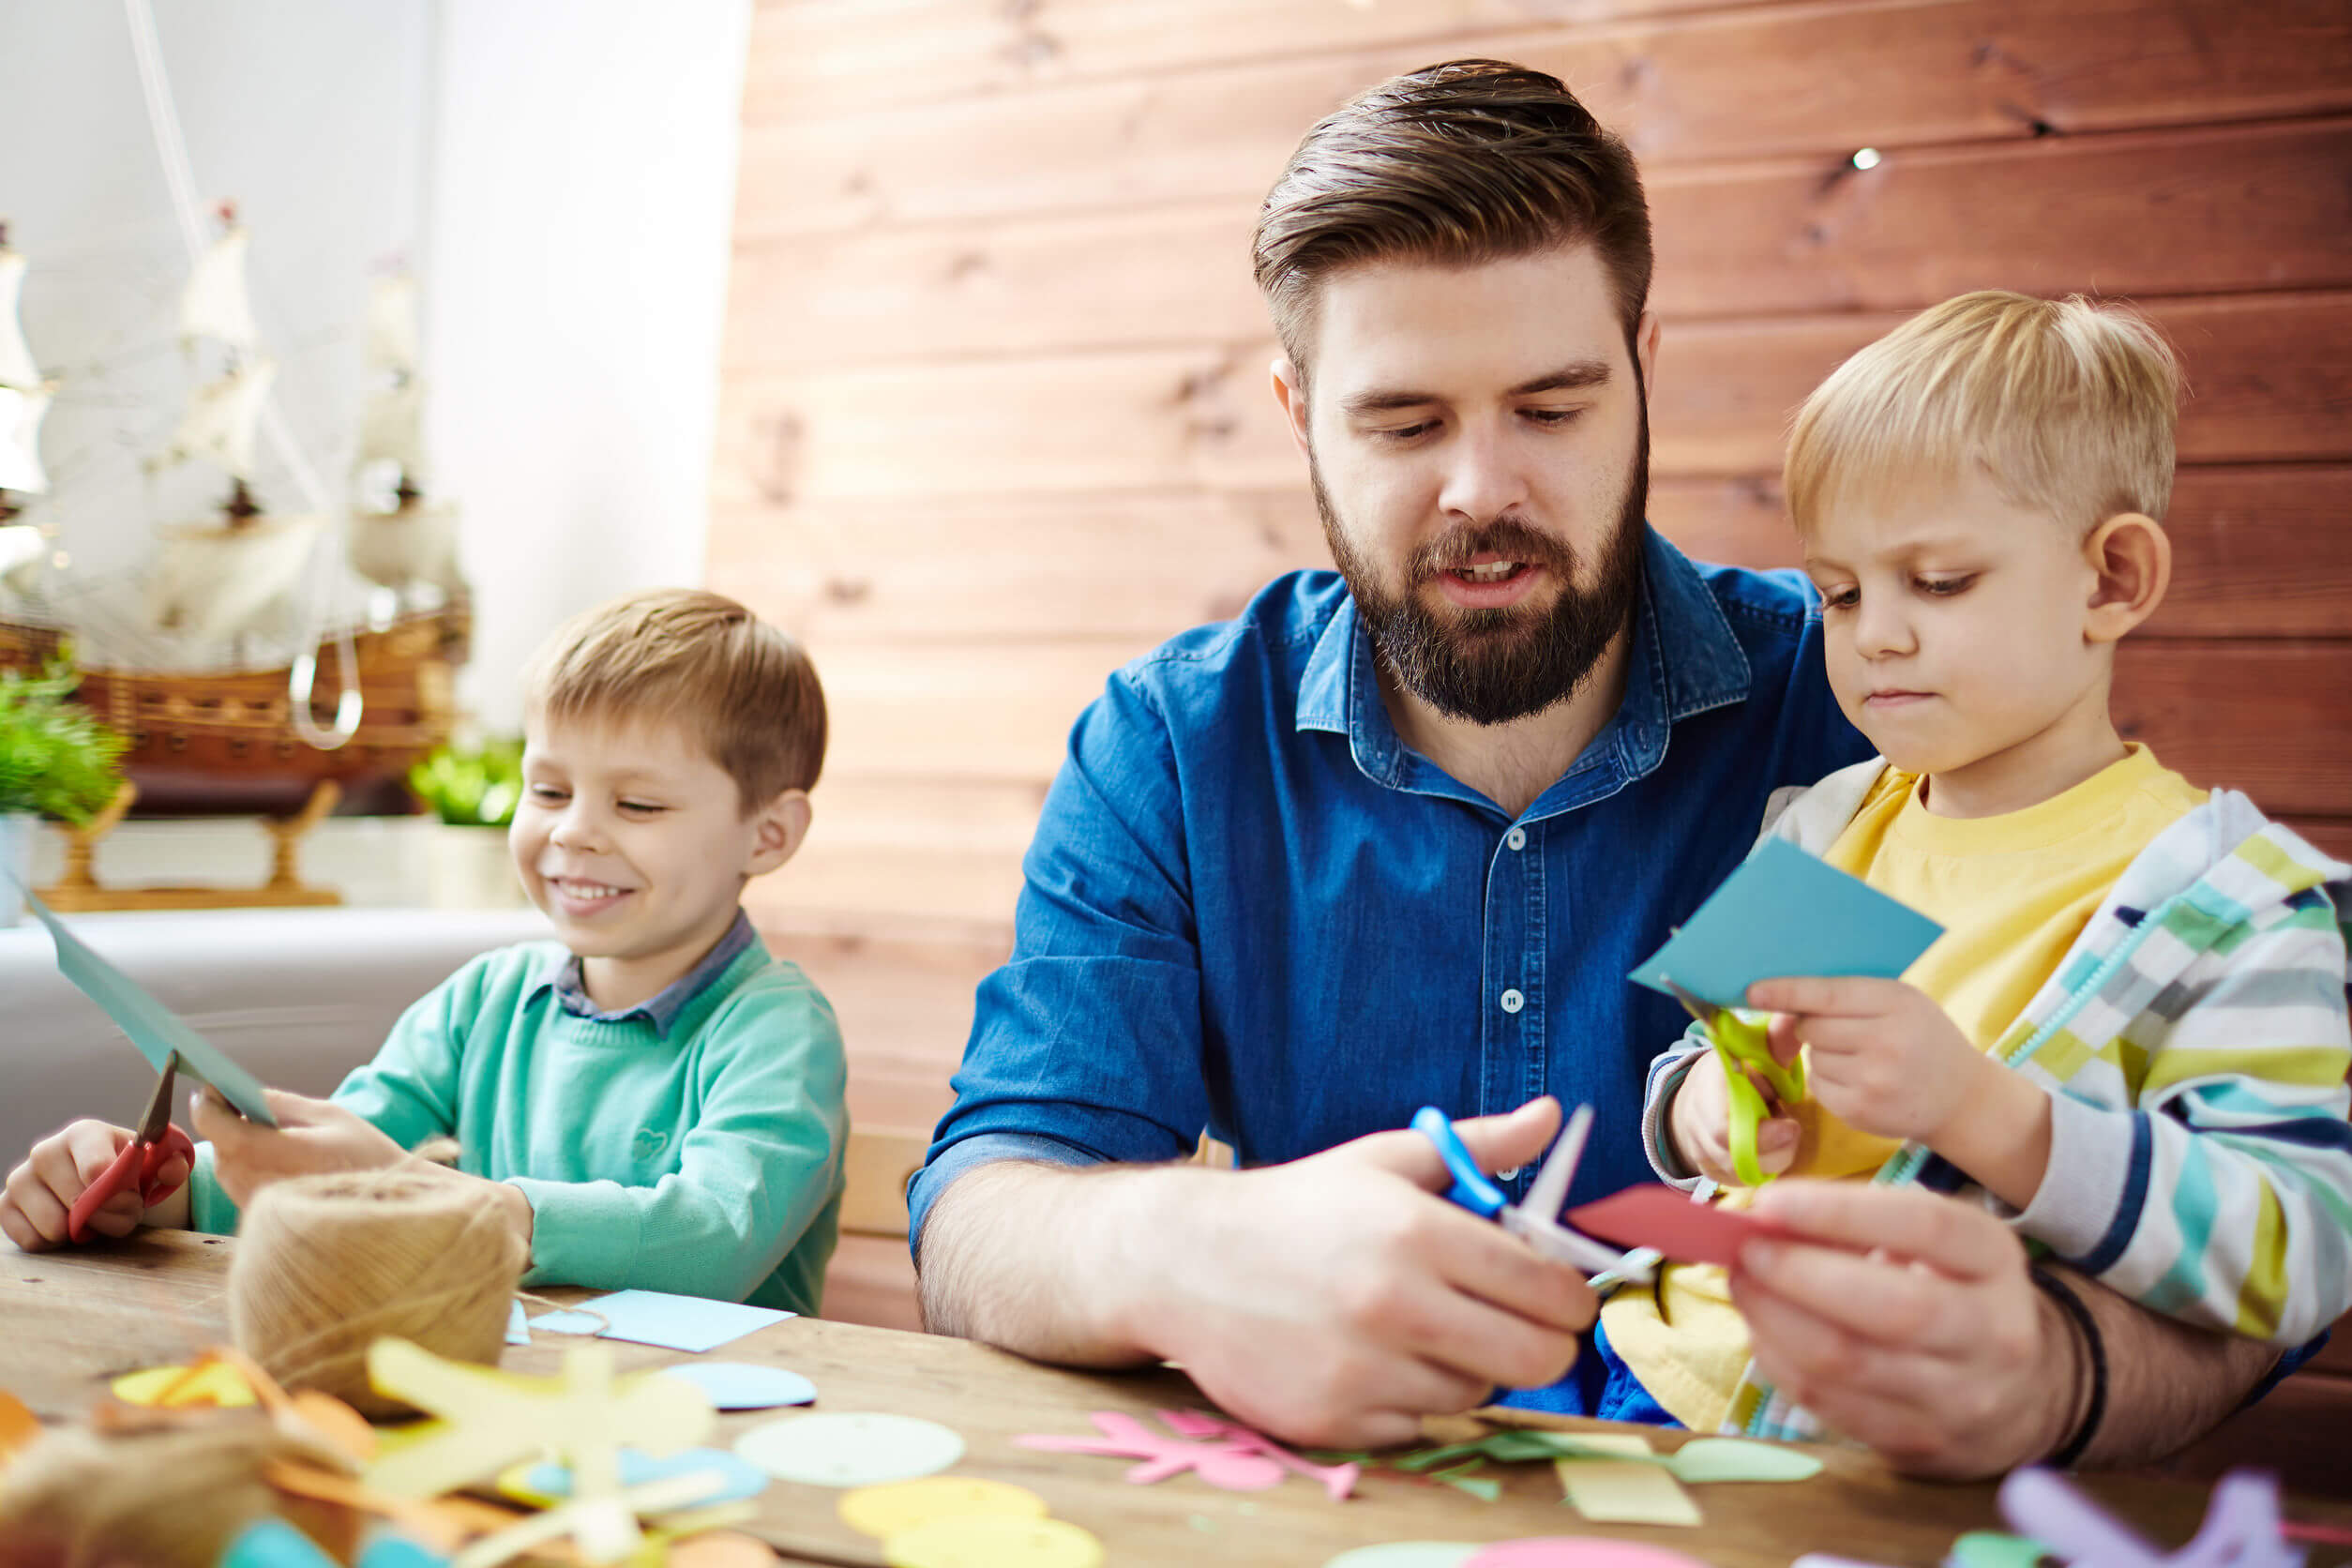
Making crafts has many benefits for children, as they develop motor skills, creativity, and imagination.
These models that we’ve shared with you can be made with your little ones and customized by adding glitter, drawings, or colors. Flying kites is a good opportunity to spend time together and have fun as a family!
“That’s what flyinga kite was all about; letting your head fly along with it.”
-Khaled Hosseini-
If you want to surprise your child with a toy made with your own hands, we invite you to make flying kites.
Magical and with a bit of science, these wonders that take to the skies anywhere on the planet have stood the test of time and remain a popular way to connect the childhoods of several generations.
The designs of the kites are simple, as they have to be raised and kept in the air. You can use a variety of materials to build them but they must always be lightweight.
Here are five models to make at home and then go out to fly them out in the open with your family!
Traditional kites
This is the simplest of all and also the best known. Take note of the materials and let’s get to work!
Materials:
- Thin sticks, reeds, or lightweight wood
- Tissue or crepe paper
- Adhesive tape
- Colored ribbons
- Ruler
- Scissors
- Thread
Steps:
- Assemble the structure of the kite with two sticks. One will be the crossbar (12 inches long) and the other the spar (20 inches long).
- Form a cross by joining them with the thread.
- Place this cross on the tissue paper.
- With a pencil, join the ends of the sticks to make the shape of the kite.
- Cut out a strip of tissue paper or crepe paper and tape it to the ends of the sticks. This will be the sail of the kite.
- Prepare two long pieces of yarn, tie them to the spars, and join them together in the center of the cross, making sure it’s a little loose. This will be the bridle that will help you to balance the kite in the air.
- At the junction, you’re going to tie the line, which is the long string that you’ll hold in your hands.
- Around the edge of the kite, add ribbons, and at the end of the stringer, glue the tail, which can be long colored strips.
- Decorate your flying kite with stickers or paint it with bright colors or any design you like.
Flower-shaped kites
This is a variation of the previous craft, which will be easier than you think. Try it and you’ll see how original its design is.
Materials
- Wicker or thin cane strips for basketry (about 2 millimeters thick)
- Tissue paper
- White paper
- Scissors
- Thread
- Adhesive tape
Steps
- Choose a flower design and draw it on the white paper.
- Cut out the pieces of the flower: Petals and the center.
- Follow the edges with the wicker or cane to assemble the structure.
- Join all the parts together with thread.
- Transfer the shapes from the white paper to the tissue paper, choosing different colors for each part.
- Cut the pieces and then tape them to the wicker “skeleton”.
- Add the flange, line, and glue as explained in the traditional model.
Kite with recycled bags
While we make crafts, we can also teach our children to recycle and thus take care of the planet. Look for bags that you no longer use and offer them a better destination than the closet.
Materials
- 1 paper bag
- Cardboard
- Gift wrapping paper
- Twine
- Adhesive tape
- Glue
- Pencil
Steps
- Draw shapes on the colored paper and cut them out (fruits, flowers, stars, moons, etc.).
- Glue them on the outside of the bag.
- Open the bag and glue a rectangle of cardboard on the inside of the bag to keep it open. For example, you can use cardboard from cereal boxes.
- Cut 4 pieces of string, glue them to the base, and join them in the center.
- Tie the line there to be able to fly your kite.
Small kites
These can be fun for older children, as younger ones aren’t yet able to manipulate such small objects. You can use them to bring drawings to life, like a 3-D collage. Give it a try!
Materials
- Disposable plastic straws
- A sheet of crepe paper
- Tissue paper
- Glue
- Scissors
- Thread
Steps
- Place the straws on the crepe paper, forming a rhombus, and add one with a middle line. You’ll have a center where the straws cross.
- Glue the structure on the crepe paper.
- Cut out the tissue paper in the shape of the kite, leaving about 2.5 inches to fold it and glue it all around the edge.
- Add glue and decorations of your choice.
- Join several finished models to form a garland of mini kites.
Flying kites with newspaper
When you don’t have materials at home, you can take advantage of old newspapers around the house. Their thin and light paper is ideal for your kite to fly very high.
Materials
- Colored paper
- Newspaper
- 2 bamboo canes of 20 inches
- Glue
- Adhesive tape
- Scissors
- Thread
Steps
- Form a cross with the two bamboo canes and tie it in the center with the thread.
- At each end of the canes, make a groove in them. Pass a thread through all of them to form the structure of the kite.
- Place the newspaper on top and cut it into the shape of the kite, leaving about 1 inch extra.
- Fold the paper over the thread and glue it. This should be done all around the edges.
- Add the flange, the line, and the tail, as explained in the traditional model.
Crafts to make flying kites: Guaranteed family fun!
Making crafts has many benefits for children, as they develop motor skills, creativity, and imagination.
These models that we’ve shared with you can be made with your little ones and customized by adding glitter, drawings, or colors. Flying kites is a good opportunity to spend time together and have fun as a family!
“That’s what flyinga kite was all about; letting your head fly along with it.”
-Khaled Hosseini-
All cited sources were thoroughly reviewed by our team to ensure their quality, reliability, currency, and validity. The bibliography of this article was considered reliable and of academic or scientific accuracy.
- http://personales.upv.es/ctorras/quinventfa/fitxes/ficha01.PDF
- http://www.educarchile.cl/Portal.Base/Web/VerContenido.aspx?ID=107005
- https://www.batoco.org/bibliotoco/files/Especia01.pdf
- Hosseini, Khaled (2003) Cometas en el cielo
This text is provided for informational purposes only and does not replace consultation with a professional. If in doubt, consult your specialist.